As the days grow longer and warmer, it’s time to refresh your home with some spring cleaning. But before you dive into the daunting task, let me share my favorite spring cleaning secrets and shortcuts. These expert tips will help you tackle even the toughest cleaning challenges while saving time and effort. By the end of this article, you’ll be equipped with practical techniques that make spring cleaning a breeze.
Start with a Plan: Decluttering First

Before you even think about scrubbing or dusting, the first step in spring cleaning is decluttering your space. A well-thought-out plan can make a world of difference in how effective your cleaning process becomes. Begin by moving through your home one room at a time and sorting items into three categories: keep, donate, and discard. This method not only clears up space but also helps streamline your cleaning efforts. Here are some practical steps to follow:
- Set a timer for 15-30 minutes to avoid burnout.
- Work on one specific area, such as a drawer or shelf.
- Be honest with yourself about what you actually use and need.
- Ensure you have boxes ready for donations and a trash bag for discards.
- Once completed, feel free to reward yourself with a break or a treat!
Following this structured approach can make the daunting task of decluttering manageable and even enjoyable.
Gather Your Supplies Efficiently

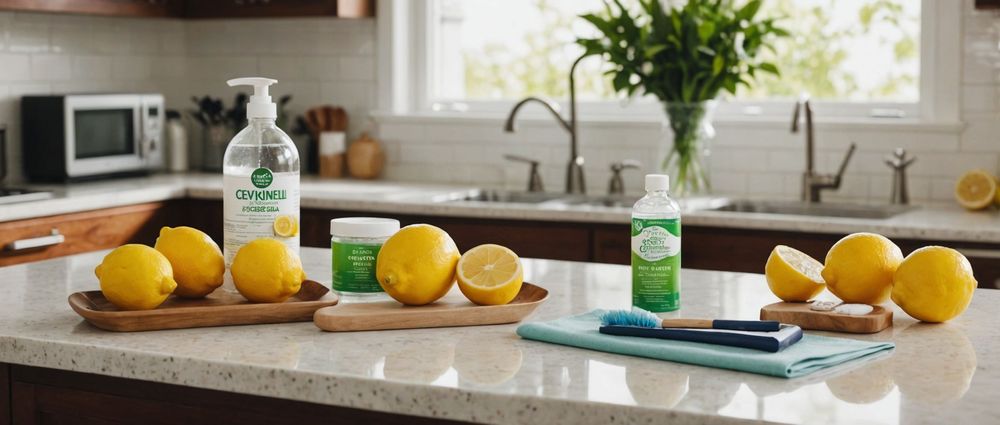
A common mistake many make is scattering cleaning supplies throughout the house. Instead, gather everything you’ll need in one place to make your cleaning journey smoother. Here’s a list of essential supplies that every spring cleaner should have:
- Microfiber cloths for dusting and wiping surfaces.
- A good all-purpose cleaner for various surfaces.
- Baking soda and vinegar for natural solutions.
- A vacuum cleaner with attachments.
- Gloves to protect your hands during cleaning.
Having everything set up and easily accessible means you can move efficiently from one task to another, maximizing your cleaning time.
Deep Clean Your Kitchen in Steps
The kitchen can be a challenging area to clean thoroughly, but breaking it down into smaller tasks can make it less overwhelming. Start by addressing one task at a time, such as cleaning out the fridge, wiping down countertops, or scrubbing the stove. Here’s a streamlined approach to kitchen cleaning:
- Empty out your refrigerator and throw away expired items, followed by a wipe-down.
- Clean the microwave by heating a bowl of water with lemon juice for 5 minutes, making it easy to wipe.
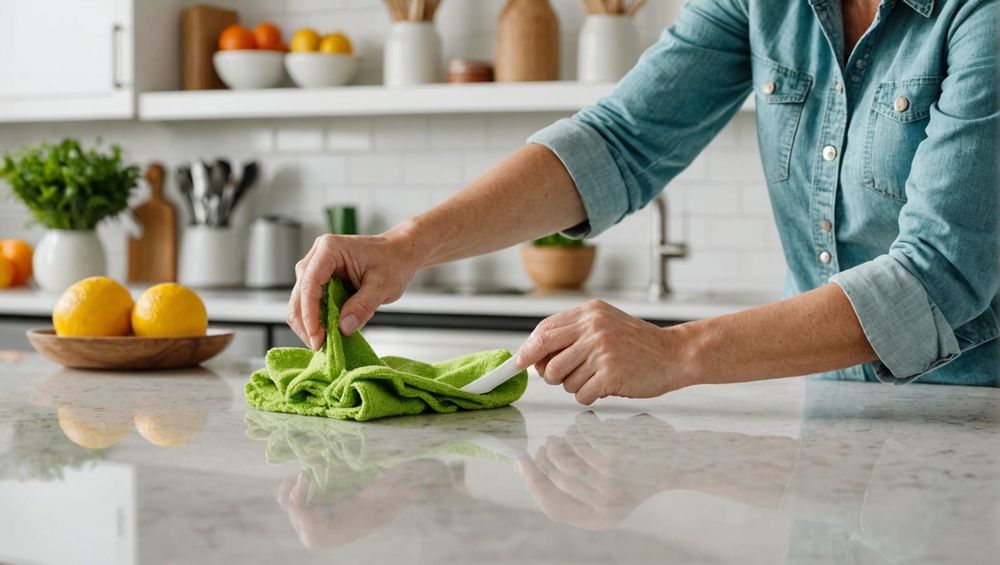
- Scrub countertops with an all-purpose cleaner, focusing on areas where spills often occur.
- Don’t forget small appliances—give your toaster and coffee maker a good wipe.
- Finally, sweep and mop the floor for a spotless finish.
By focusing on one step at a time, you avoid the feeling of chaos and accomplish more in a shorter amount of time.
Don’t Overlook the Details
While the bigger tasks are essential, it’s the details that can really elevate your cleaning game. Pay attention to spots that are easily overlooked, like light fixtures, baseboards, and door handles. Here are a few targeted tips to enhance your cleaning strategy:
- Use a long-handled duster for hard-to-reach ceiling corners.
- Wipe down light switch plates and door handles regularly to eliminate germs.
- Vacuum baseboards using a vacuum extension or a soft-bristle brush attachment.
- Consider a steam cleaner for an ultra-deep carpet clean.
- Don’t forget to change furnace filters and clean air vents for better air quality.
Making a habit of checking these details regularly leads to a cleaner, healthier home environment.
Finish Strong: A Cleaning Checklist
As you wrap up your spring cleaning, ensure you’re leaving no stone unturned. Having a cleaning checklist can be incredibly beneficial. Here’s a concise checklist to guide your final touches:
- Wipe down all surfaces in the living room (shelves, electronics, etc.).
- Change bed linens and throw pillows.
- Clean out your closet and donate clothing you no longer wear.
- Deep clean your bathroom: scrub the tub, shower, and toilet.
- Steam clean or wash curtains and blinds.
By checking off tasks as you go, you can maintain a sense of accomplishment and ensure every area is sparkling clean.
Conclusion
Spring cleaning doesn’t have to be an overwhelming task. When you start with a plan, gather your supplies efficiently, break tasks down into manageable steps, pay attention to details, and follow a checklist, you’ll find the process can be not only manageable but even enjoyable. Armed with these expert secrets and shortcuts, you can rejuvenate your space and welcome the new season with a fresh and inviting home.
FAQs
1. How often should I spring clean my home?
It’s generally recommended to spring clean your home once a year, but you can do it more frequently based on your home’s needs and your personal preferences.
2. What are some eco-friendly cleaning supplies?
Baking soda, vinegar, and lemon juice are excellent non-toxic alternatives. You can make effective cleaning solutions using these natural ingredients.
3. How can I make cleaning more enjoyable?
Play your favorite music or listen to a podcast while you clean. This can make the experience more enjoyable and less of a chore.
4. Do I need to buy expensive cleaning products?
No, you don’t need expensive cleaning products; many effective cleaners can be made from household items. Focus on what works best for your needs.
5. Can I get my family involved in the spring cleaning process?
Absolutely! Assign age-appropriate tasks to family members. This not only makes the cleaning process faster but also fosters teamwork and maintains a clean home together.


